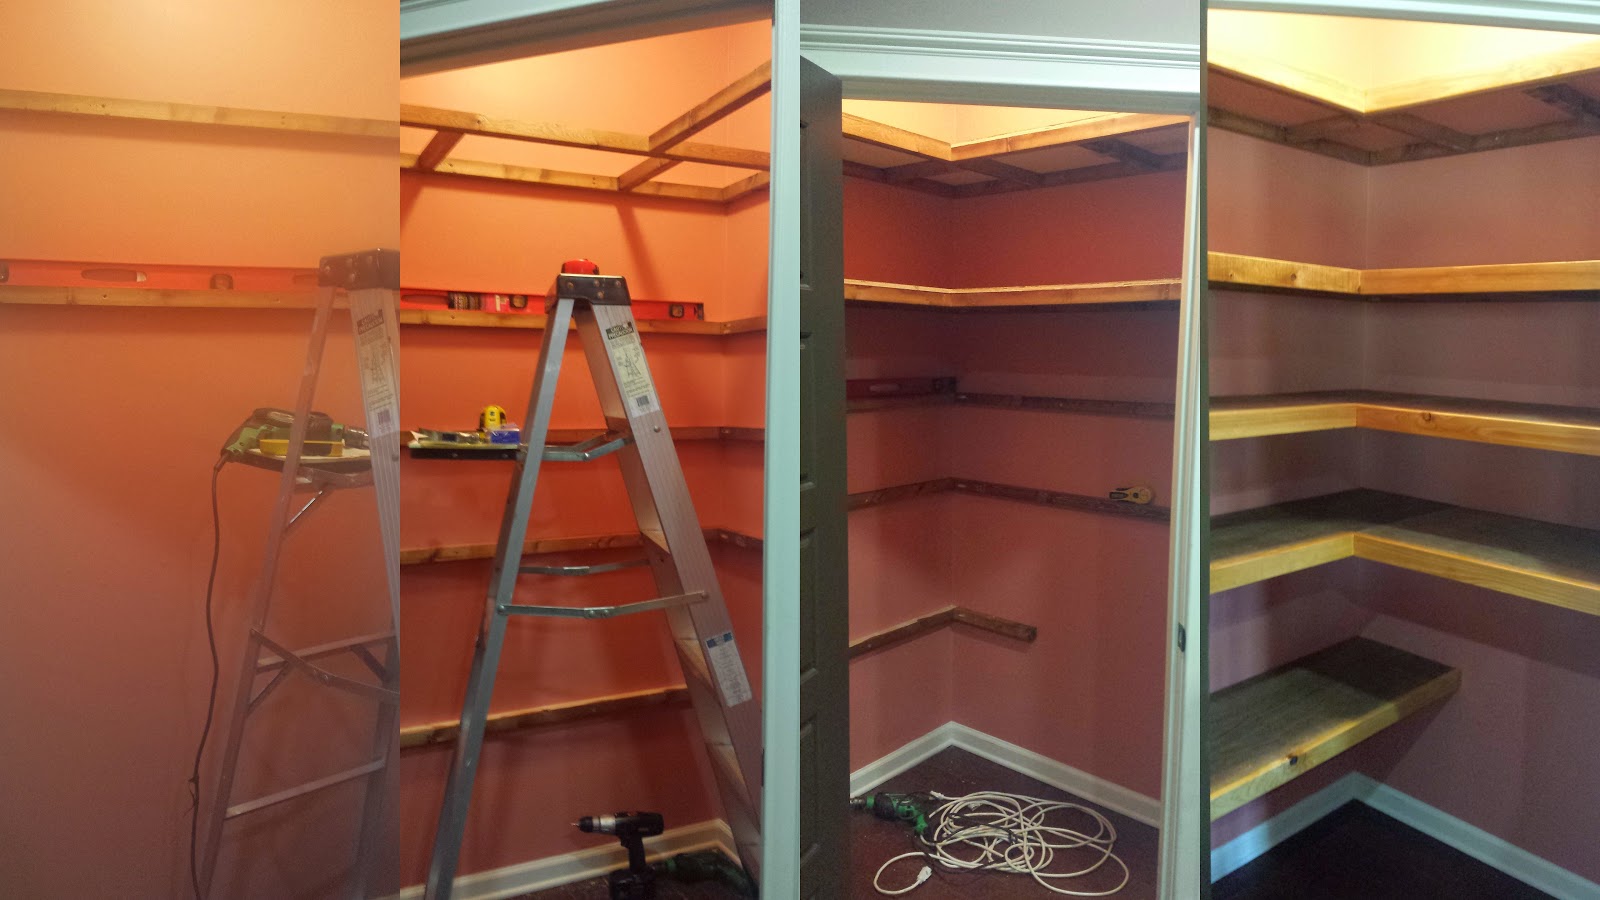
I knew I had a color in mind that I wanted for the pantry. Wait back up, I knew, even when we moved in that I wanted to replace the wire shelves in the pantry. They bend under weight, they let food slip through the openings, and they look awful. So it made sense (to me) to replace them eventually. At the time the house was built, we had the option of laminate or wire shelves, but for cost cutting measures, we kept everything wire shelves, even the master closet.
So the time came when I found inspiration to renovate the pantry, but I need a paint color. I did not want the plain white walls, which only highlights the white ugly shelves. I knew I wanted an orangish, maybe pinkish color. I need something brighter. The light in the pantry is partially blocked by all the shelving and the food, so a neutral darker color wouldn't work.
For several weeks, I stopped by Home Depot and Lowe's to check out their supply of "oops paints" to see if a color caught my eyes. Two weeks in a row, neither store had more than one color, so disappointing! But the third week, I found a color I thought would do. For $5.00, it was worth a chance, surely better than plain white walls.
Upon finding a suitable paint color, I went home and cleaned the pantry out. Between the sunroom and our counter in the breakfast area, I was able to temporarily store everything in our pantry. Though it made it harder to hide the sweets from the boys, and Bo thought he was being spoiled rotten with all the new food in his room.
The worst part about taking out the wire shelves was patching all of the support holes. Though I did have some choice words to say to the nails that would not easily come out, and I did pinch part of my skin. Once the patching was behind me, and I patiently waited for it to dry, I taped so I could paint after the boys went to bed. Painting in such a small space seems to require some talent. You have to be careful with the order you paint the walls so that you don't back yourself up into wet paint. I put two coats of paint on, and once it dried, I took down all the tape.
I had Lowe's make most of the cuts for the plywood shelving, but all of the support framing was kept whole until I arrived home. I took out both of the car seats and folded down the back seat in order to transport the wood!
Based on stud spacing, I knew which wall I wanted to start with so not to interfere with the 16" that studs should be spaced. I measured for all 5 shelves on the back wall, cut, fit, and then removed. I wanted to stain the framing because I knew it would be exposed. Some pins I found on Pinterest put 1/4" board on the bottom, but I wasn't super crazy about the added weight or found it necessary.
So I would stain, install, measure more board, ensure they fit, and stained those boards. Repeat! It was a slow process waiting on the stain to dry, but I didn't want to cut a board based on the assumed depth of the 2" x 2" framing since the boards aren't exactly straight, which means it could cause my intersecting boards to be longer or shorter. This project really tested my patience because when I get an inspiration, I want to complete it quickly so I can admire the finished project.
AJ had some leftover wood, and he showed me how to rip it to get it to the correct width. We have a mix of two colors for our cabinets in our kitchen and master bedroom, so I thought the medium stain with a natural trim would look great. I really like how the shelves turned out, and I like going into my pantry and not seeing the ugly white trim. Total spent - $85.00
 |
| No judging the contents :) |
I have had numerous other house projects that I had hoped to share how I did it, but there's not much time left after doing the project and trying to share it...something about two crazy little boys consuming all of my time and energy!
A train table for the boys in the nook area, a photo clock at the breakfast table (we can say to Aidan, you need to have your dinner finished by the time the hand reaches Rosalind, and he knows where to look) photo ledge shelves on a wall outside of the master bedroom, laundry room organization for all the cleaning tools, and a ruler for marking the boys yearly growth (and they love to see how tall they are throughout the year!)


So impressed still that you did all of the shelving by yourself!
ReplyDelete